January 31, 2011

Ham and Swiss Cheese Mini Frittatas

Individual little savory muffin delights, these frittatas are easy and convenient. They can be made ahead and taken as a quick weekday breakfast, or used as part of a more elaborate weekend brunch.

They are also highly customizable. I used ham and swiss cheese, but you could use bacon and cheddar cheese, you could leave out the meat to make it vegetarian, add vegetables, onions, herbs - the possibilities are endless!

Make sure that you grease the muffin tin really well - I used butter and the frittatas still stuck on the bottom a little. 

Reheat by throwing the microwave for a minute!

Enjoy!

 This is the muffin tin I used - it makes six large muffins. If you have one with smaller cups, this recipe would make more than six frittatas.


Ham and Swiss Cheese Mini Frittatas (serves 6)
  • 12 eggs
  • 1 cup of diced ham
  • 3/4 cup of shredded swiss cheese
  • 1/4 cup of milk, half-n-half or heavy cream
  • 1/2 teaspoon salt 
  • 1/2 teaspoon pepper
Preheat oven to 375 degrees.

Generously grease a muffin tin with butter, set aside.

Beat the eggs with the milk in a large bowl.

Divide the ham and cheese equally between the muffin cups, then pour the egg mixture equally over top of the ham and cheese. Top with salt and pepper.

Bake for 25 - 35 minutes or until the top is starting to brown. Note: cooking time will vary depending on the size/number of the muffin cups you use.

Enjoy!

Printable Recipe

January 27, 2011

Red Curry Coconut Noodles

This is a delicious change from our regular weeknight meal rotation.

Actually, I don't have a weeknight meal rotation. I just cook whatever sounds good to me, and try to mix it up a couple times a week so that I have some new material to post here.

But this curry was a delicious change from the things we had been eating.

Steve was a little skeptical when I showed him the recipe, but he ended up loving it.

He ate most of the leftovers himself. 

It makes a TON. You could easily cut the recipe in half.

He even tried feeding it to his kids...not so much. They've come a long way since they started eating with me, but they aren't big on the Thai cuisine yet.

But that's ok! Because eventually I will turn them to the dark side.

This is also one of those recipes that is really adaptable, which I love because I rarely make the same thing twice.

Did I mention that once the initial prep work was done, it was super easy and fast?

Although if you don't cook Thai very often, some of these ingredients might be a bit foreign to you.

Don't panic - you can find most of them at your regular grocery store in the Asian aisle.

As always, feel free to ask questions in the comments section (at the very end of the post), and I will get back to you. 

I loved that we use the solid "fat" from the coconut milk to cook the chicken in...it imparts flavor as well as removes the need for any other "fat" such as butter or oil. 

This is another Tasty Kitchen recipe...I adapted it from Nika

Below is the recipe as I made it (yes, I changed things). I wanted more spicy, coconut-y broth so I added more liquid. I also added more ginger, cilantro and curry paste (because I love it) and more Thai Chili Sauce, because I love that too and I like lots of flavor!

Give it a try!


Red Curry Coconut Noodles (serves 8 - 10) adapted from Nika on Tasty Kitchen
  • 6 chicken boneless skinless chicken breasts, cut into small bite-sized pieces
  • 2 cans of coconut milk (full fat)
  • 1 tablespoon red curry paste
  • 2 tablespoons fresh ginger, minced
  • 1/2 cup of cilantro, minced
  • 1/2 cup Sweet Thai Chili Sauce
  • 32 oz fat free, low sodium chicken broth
  • 1 (8 oz) package of rice noodles 
  • 1 yellow onion, julienned 
  • 2 red bell peppers, julienned
  • 2 cups of broccoli slaw
  • 2 teaspoons chicken bouillon
Open the cans of coconut milk, scoop out the "solids" and place them in a large dutch oven over medium heat (reserve the rest of the liquid). Once the pan is hot, add the curry paste and ginger. Saute for 1 minute.

Add the chicken and saute until cooked through. Add the remaining coconut milk, the Thai chili sauce and the chicken broth. Bring to a slow boil, then reduce heat to simmer.

Add onion, peppers, broccoli slaw and rice noodles. Return to a simmer and cook for about 5 minutes or until the rice noodles are cooked through.

Add the cilantro and remove the pot from the heat. Let sit for 5 minutes and then serve, adding some yummy broth to each bowl.

Enjoy!

Printable Recipe 

January 24, 2011

New Adventure and New Scenic Cafe

Happy Monday!

I hope that everyone had an excellent weekend.

I wanted to share some news with you this morning.

I accepted a new job last week!

I will be working full time in my field again, with a new company.

Let's visit the positives and negatives about my decision.

Positive: I will be doing what I went to school for, which helps me to justify the 60 billion dollars I have in student loans.

Positive: I will be (hopefully) expanding my skill set and knowledge base, and doing more challenging work.

Negative: I will be going from wearing jeans to work, to wearing business professional attire...aka: business suit.

Positive: I will be making more money, along with having more comprehensive benefits.

Negative: It isn't enough money for me to retire at age 30, hire a housekeeper, or travel the world. Boo.

Negative: I will be leaving my coworkers, who I love and who have been amazing and supportive and flexible while I went through my divorce and all of the other bullshit that went with it.

Positive: I am feeling stronger and in a much better place now, and I am very ready for a new adventure!

Wish me luck!!!

To celebrate my new opportunity, Steve and I went to my favorite restaurant.

The Scenic Cafe.

Sigh.

We started with the Taleggio Fondue with homemade croutons:

Excuse the pictures - they were taken on an iPhone.

Delicious!

Then we shared a pistachio-crusted goat cheese salad (can you tell that we like cheese?), but I forgot to take pictures of it.

For my main course, I had the Braised Lamb Shank.

Yummy.

Here is the description from the menu:

braised lamb shank
gnocchi béchamel roasted tomato olive oil
capers feta basil


Steve had the Grilled Quail.

The menu description says:


grilled quail
soft polenta wild rice mascarpone cheese
duck liver sherry cream sauce marsala crimini
quail egg peas morels


Steve didn't love his quail...he thought it was a little oily and even a little gamey. He also said the wild rice wasn't cooked. Major bummer. 

Steve and I agreed that the best part about The Scenic is their starters. The fondue, the artichoke slather, sashimi tuna tacos, the curried blue mussels - they are all to die for.

The last couple of times that we have went, our entrees have been good, but not quite the level of fantastic-ness that we have come to expect from The Scenic.  

But never-the-less, we had a great time and enjoyed the atmosphere, the wonderful service and each other. If you are ever in Duluth or up the North Shore, it is definitely worth stopping in.

Disclaimer: The Scenic didn't pay me to review them or to write anything about them (nor have they ever). The opinions expressed are mine.  

January 18, 2011

Roasted Tomato Basil Soup and Fontina Grilled Cheese Sandwiches

Sweet mother of deliciousness.

Roasted Tomato Basil Soup is one of my all-time favorites.

And who doesn't like a grilled cheese?

Especially one made with fontina cheese.

Yum.

The soup recipe is a revamp...I originally posted it here, but it was confusing and without pictures.

It is adapted from an Ina Garten recipe.

...that's right, the Barefoot Contessa.

I love that woman.

Anyway, here is the food porn and recipes.

The ultimate comfort food!

Yes, I realize that I say that about everything.

That is because food in general is very comforting to me, so comfort food is especially comforting...

...nevermind.

Just eat it.

 I realize that this recipe calls for ridiculous amounts of fresh basil (4 cups), but just trust me on this, ok?


 Oh, you know I had to add Fontina cheese to the soup too! But you could also use Parmesan.

If that doesn't get your tastebuds watering, I don't know what will.

Roasted Tomato Basil Soup (serves 6) adapted from Ina Garten
  • 3 lbs ripe tomatoes (preferably roma tomatoes)
  • 1/4 cup, plus one tablespoon olive oil 
  • 6-8 cloves of garlic (left whole)
  • 1/2 tablespoon kosher salt
  • 2 teaspoons fresh cracked pepper
  • 1 tablespoon sugar
  • 1/2 teaspoon crushed red pepper (optional)
  • 4 cups basil
  • 1 medium onion, chopped
  • 1 tablespoon butter
  • 1 quart low sodium, fat free chicken broth
  • 1 tablespoon chicken bouillon 
  • 1 28 oz can of whole plum tomatoes (I use San Marzano) 
  • 1 teaspoon fresh thyme leaves
Preheat oven to 400 degrees.

Slice the tomatoes in half, throw into a large zip-top bag. Add 1/4 cup olive oil, garlic cloves, salt, pepper, sugar and crushed red pepper.  Spread mixture onto a large baking sheet, making sure tomatoes are cut side up.

Roast for 45 minutes.

In the meantime, add one tablespoon olive oil and one tablespoon butter to large dutch oven or soup pot. Saute onions over medium heat until tender.

Add roasted tomatoes and garlic (including all of the juices) to dutch oven. Add broth, basil, bouillon, thyme and can of tomatoes.

Bring to a boil. Reduce heat and simmer for one hour.

Using an immersion blender, puree mixture until there are no large chunks of garlic or basil. Cook for an additional 20 minutes.

Check seasonings, add more salt, pepper, or sugar as necessary.

Serve garnished with your favorite Italian cheese!

Enjoy!

Printable Recipe

Fontina Grilled Cheese Sandwiches (serves 4)
  • 8 slices of your favorite artisan bread (I used rosemary-olive oil)
  • 8 ounces fontina cheese (or other melt-able cheese)
  • 4 tablespoons butter
Butter the outside of all 8 slices of bread. Add 2 ounces of cheese to the inside of 4 slices of bread. Top with remaining 4 slices of bread (remember - butter out, cheese in).

Heat a small skillet over medium heat. Add the sandwiches (working in batches if necessary), cook for 3 minutes or until the bottom of the sandwich is golden brown.

Reduce heat to low. Flip sandwich and cook other side until golden brown and cheese is melted.

Enjoy!

Printable Recipe

January 17, 2011

Balsamic Chicken Pasta

Oh yum.

As I write this, I am wishing that I had some of this pasta to eat.

So, so good.

Easy.

Highly customizable.

Awesome.

I found this recipe on Tasty Kitchen, it is by the lovely Natalie at Perry's Plate.

You can see the original recipe here.

As usual, by the time I was done with it, it was almost unrecognizable (although I would be willing to bet the original version is delicious too...I just can't seem to leave well enough alone).

The first time I made it, I doubled the recipe, used rotisserie chicken, added asparagus, subbed feta cheese for the goat cheese and mozzarella cheese, subbed spaghetti for linguine, and added extra balsamic vinegar.

The second time I made it, I used bucatini pasta (I had some left over from a dish that Lyndi made the night before), rotisserie chicken, extra balsamic, dried basil instead of fresh, and mozzarella and Parmesan cheese.

I don't know which one I loved more.

The bottom line is, it's good no matter what.

My only suggestion is to use high quality balsamic vinegar and olive oil.

Take a look at this:

This was the first round. Yum.

And here was the second round. I know you can't really see it, but there is tons of grated mozzarella and Parmesan cheese in there.

I want to eat this now.

Here you go - make this for dinner tonight!

(See bottom of post for printable)

Balsamic Chicken Pasta (serves 4) adapted from Perry's Plate
  • 8 ounces of your favorite long pasta (angel hair, spaghetti, linguine, bucatini)
  • 3 cups chopped or shredded cooked chicken (I used rotisserie) 
  • 1 red bell pepper, julienned
  • 1 tablespoon minced garlic
  • 1 cup fresh basil, chopped or chiffonaded
  • 1.5 cups of cheese, crumbled or shredded (goat, Parmesan, feta, mozzarella, or a combination)
  • 3 tablespoons high quality balsamic vinegar
  • 6 tablespoons high quality olive oil
  • salt and pepper to taste
  • optional: 1/2 bunch asparagus, woody stems removed and cut into bite-sized pieces
Whisk together balsamic vinegar, olive oil, and salt and pepper. Set aside. 

Cook pasta according to package directions, drain all except for 1/2 cup of pasta water.

While pasta is cooking, saute garlic and red pepper until tender (if using asparagus, add it for the last 2 minutes of cooking).

Add chicken and basil to pan with veggies.

Stir in oil and vinegar.

Toss with pasta and cheese, add salt and pepper to taste.

Enjoy!

Printable Recipe

January 11, 2011

Blu Ice Bar

On New Year's Day Steve, Cal, Lyndi and I went and checked out the Blu ice bar up the North Shore of Lake Superior at Grand Superior Lodge. The bar was carved by award winning ice carver Chris Swarbrick of Ice Occasions.

It was pretty cool...although I had been expecting a bit more ice. Only the bar area and one bench with a small table were actually ice. The parts that were ice were really neat though. And we took shots out of ice glasses!


It was definitely a unique experience. Worth seeing but difficult to hang out for any length of time...especially if you go on a cold day/night like we did! After we took our shots out of the ice glasses, we each ordered a drink and went outside to stand around a big fire they had going...then we left to go eat somewhere a little warmer!

January 10, 2011

New Year's Festivities and Recipe Revamp: Buffalo Chicken Dip

Ahhhh Monday...why do you  hate me?

In an effort to get back into the swing of things, here are some pictures from Tara's party, and a couple from New Year's Eve.

Oh, and the buffalo chicken dip recipe is at the end.

If you are on a diet, I would highly recommend NOT making this.

It is so, so, so good.

And so addicting.

And decidedly not healthy.

Sorry!

...but it was the holidays!

And everyone knows that calories don't count around the holidays.

Why can't it still be the holidays???

Anyway, back to the parties!

Eli and I (right before he gave me a big wet willy!)

Me and my Tara (with Eli trying to get in too)


Yummy, delicious, Buffalo Chicken Dip. Sorry it is so yellow (artificial light).

These are the best pictures I could get of this amazing dip, without risking my arm getting chewed off

The spread: deviled eggs, buffalo chicken dip, hummus, a delicious olive tapanade-type dip that Erin brought, and an assortment of cheese and crackers (not pictured)

I miss you Tara!

Tanya, Marisa and Erin. Not in any of the pictures: Douglas, Cal, Lyndi and Steve. Don't ask me why. 
We had such a lovely time and it was so good to see Tara and Eli. Thanks everyone! 


Now for New Year's Eve.

Wait til you see the food porn.

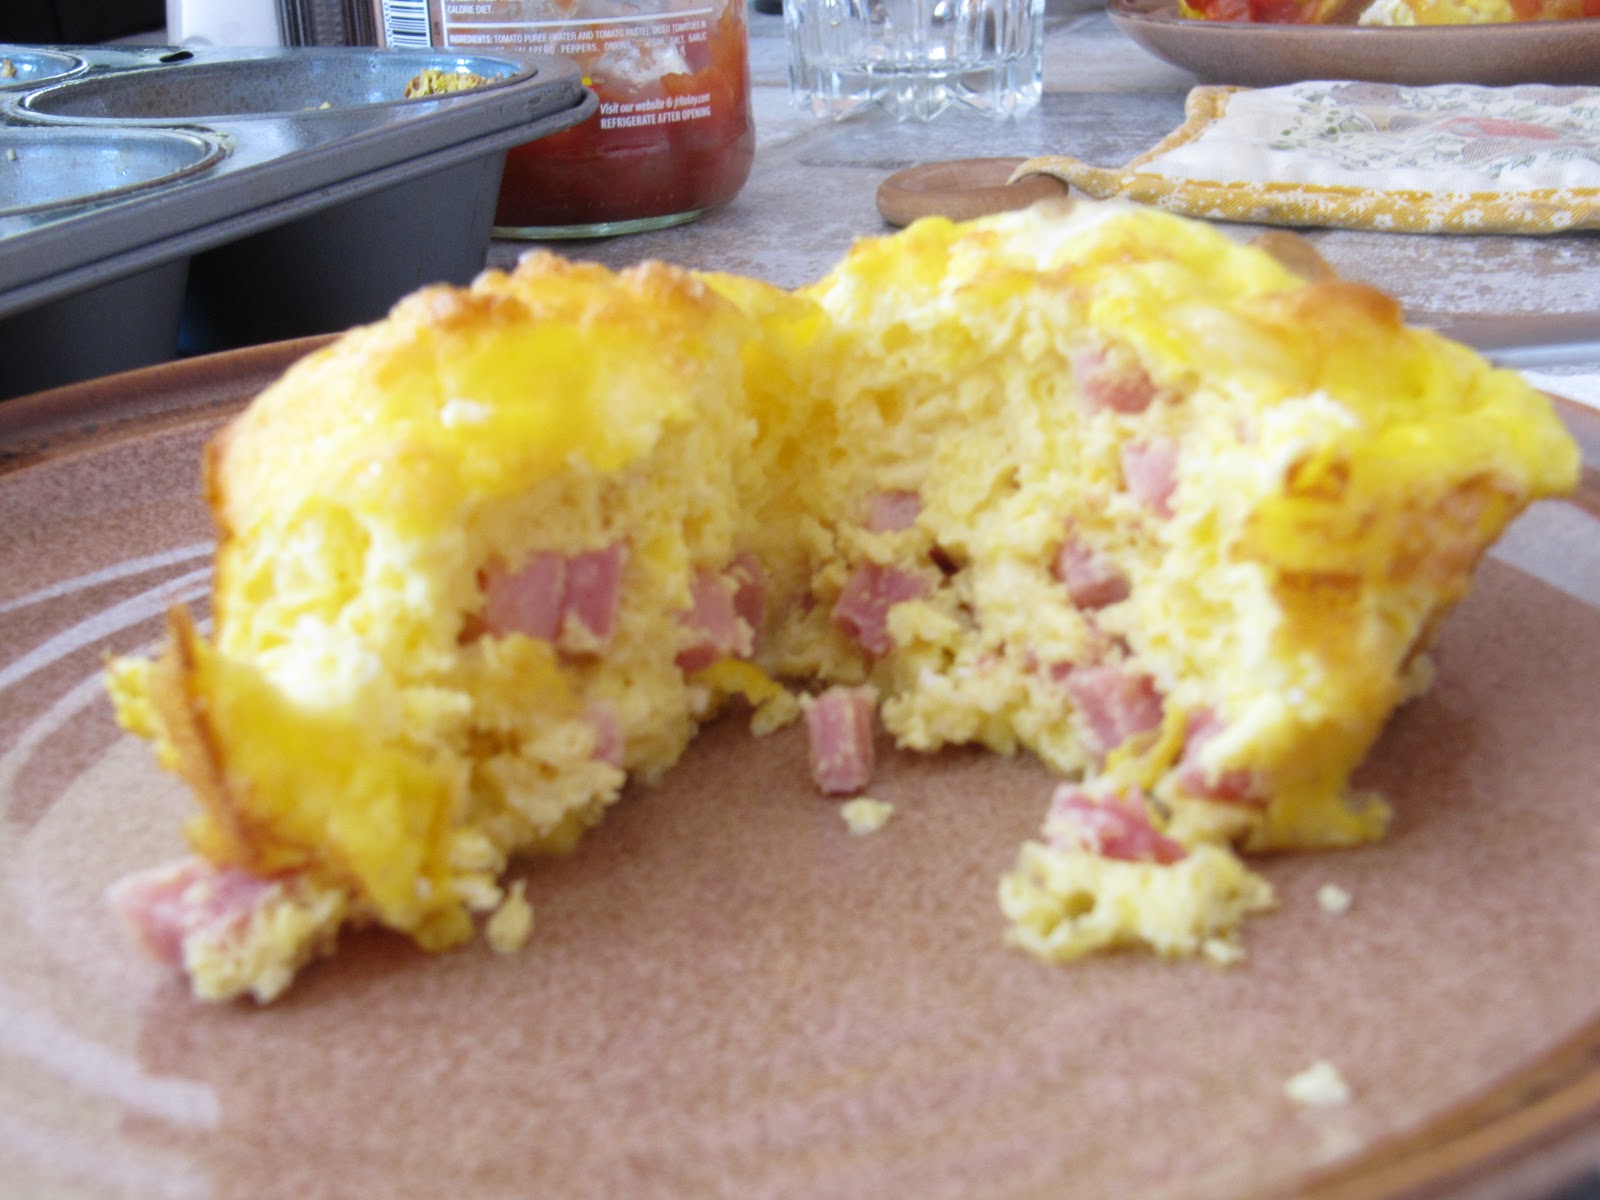
We had an amazing dinner, beginning with baby potatoes that were baked and topped with melted cheese, sour cream, and bacon crumbles.

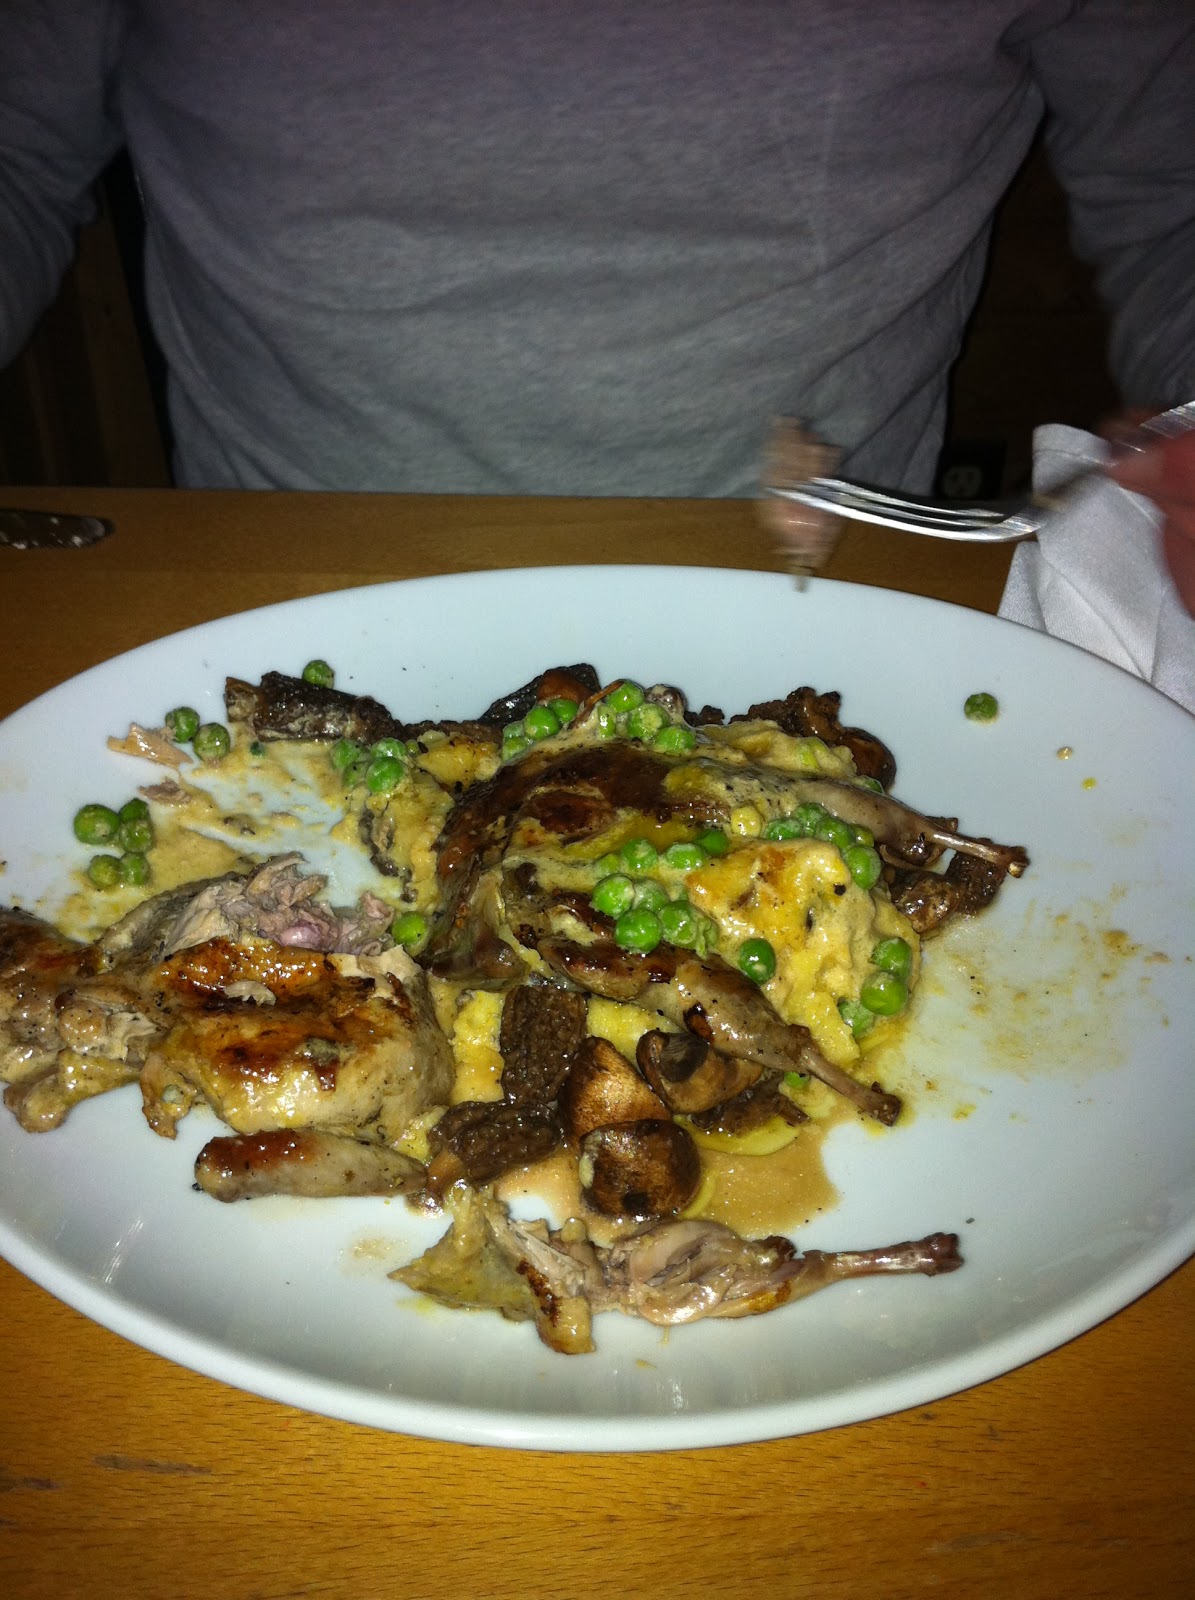
For our main course, we had Venison Tenderloin. My brother marinaded it, then seared it on the grill, then wrapped it in bacon and onions and finished it on the grill. It was amazing.

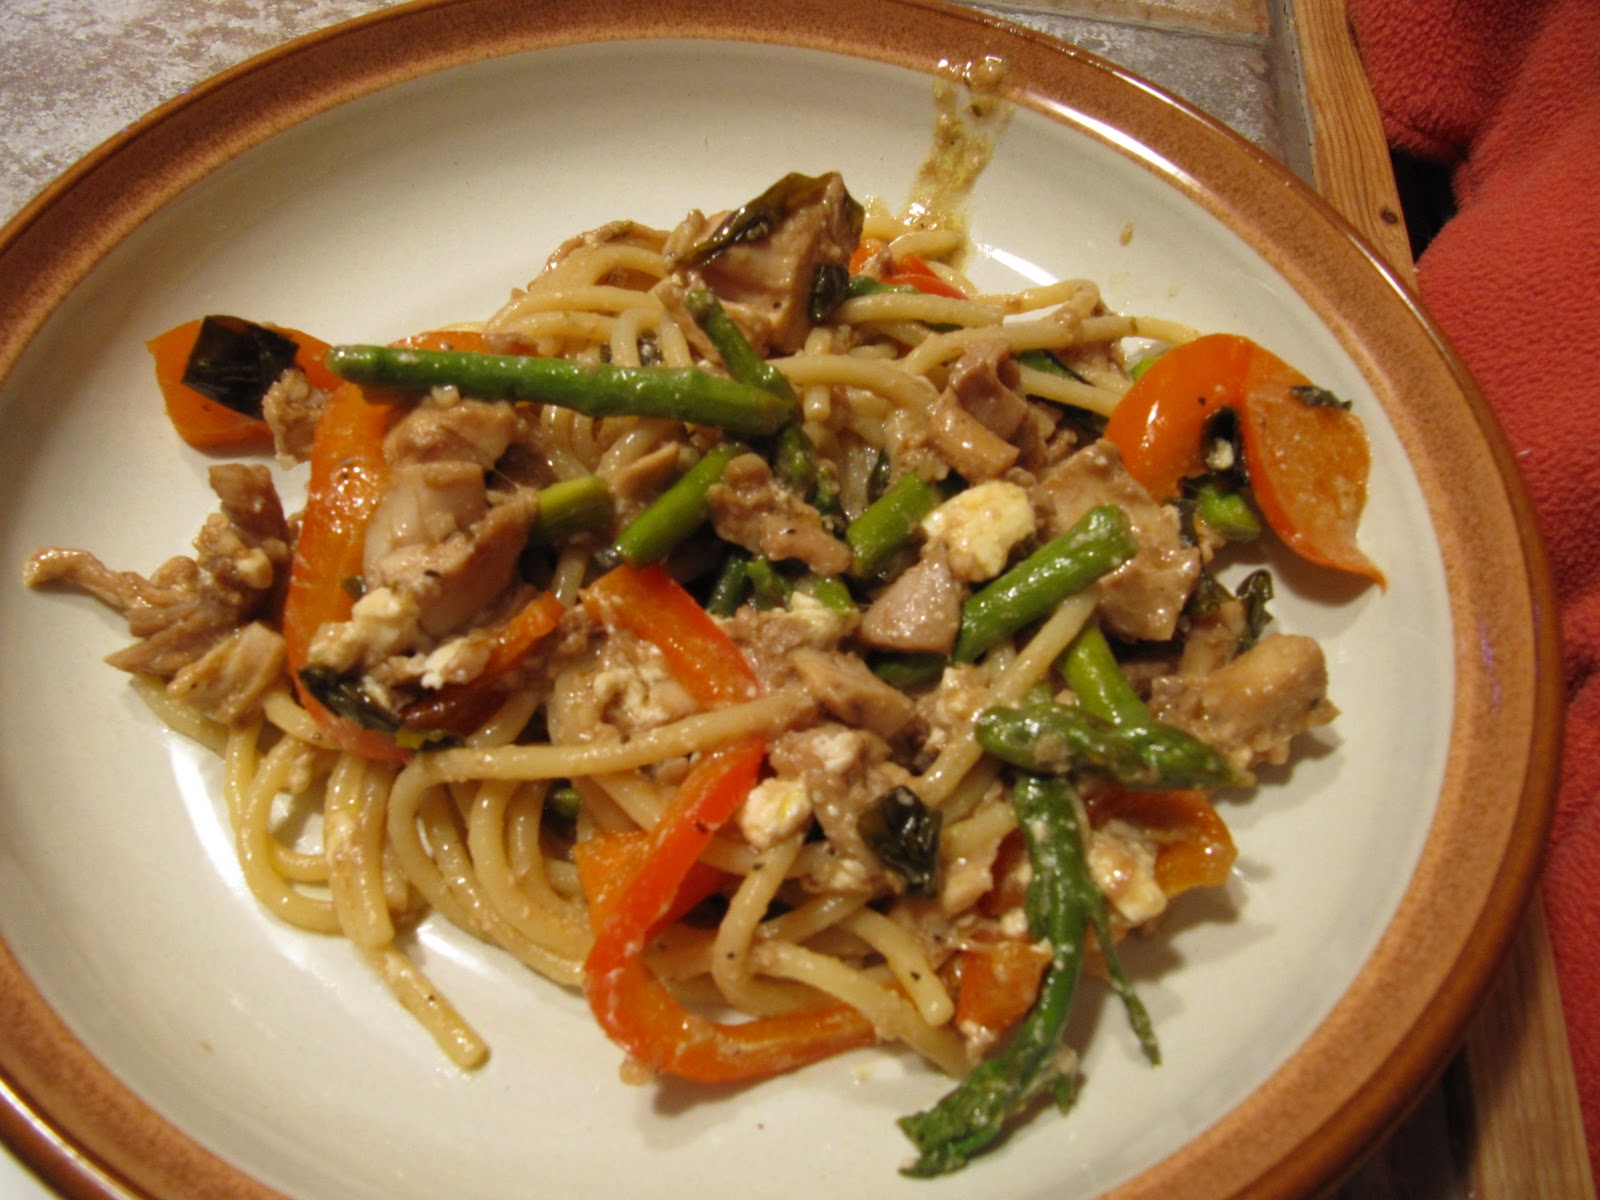
 We also had Prosciutto-wrapped shrimp brushed with BBQ sauce, and my Citrus and Herb Shrimp

And we had my Blow Your Frickin Mind Risotto, and a salad (not pictured). Oh, and lots and lots of champagne.


Everything was perfect.

Champagne with berries

Cal and Lyndi

Steve and I

Champagne and Pineapple/Orange Juice
And now, what you have all been waiting for...

Recipe Revamp: Buffalo Chicken Dip! (click here to read the original recipe post at your own risk)


Buffalo Chicken Dip (serves 8 - 10 as an appetizer)
  • 1 pound of boneless skinless chicken breast. (You can also use 2 large cans of pre-cooked chicken)
  • 1 cup of ranch dressing 
  • 1 cup of Franks Original Red Hot (do not substitute this please)
  • 1 8 oz block of cream cheese, softened
  • 2 cups of sharp cheddar cheese, shredded
  • Fritos Scoops and celery sticks for dipping
Preheat oven to 350 degrees.

Boil chicken breasts until cooked all the way through. Remove chicken to a plate and let cool - then shred it with two forks, or cut it into small cubes.

In a big bowl, mix the chicken, ranch, Franks, and cream cheese together (or use a hand mixer and mix the ranch, Franks and cream cheese until smooth...then stir in the chicken).

Mix half of the cheddar cheese into the chicken mixture, put into an oven safe casserole dish (I have a round glass one I like).

Put the rest of the cheese on top.

Bake at 350 until the cheese is melted and bubbly.

Serve with celery sticks and Fritos.

Enjoy!!!

Printable Recipe

January 5, 2011

Recipe Revamp: Chicken Fajitas

As I have mentioned before, while going back through old posts I have noticed several recipes that either have no pictures, have crappy pictures (most), have really confusing recipes, or don't have specific ingredient amounts (some of you are thinking, "So what's new?" He he he).

I don't really want to remove these recipes from the blog. Athough most of them were posted during a time when I was under a huge amount of emotional stress...and probably under the influence of wine...they are authentic pieces of me and what my life was like at the time - blurry, fragmented, rambling, random. 

So I'm just going to "Revamp" the recipes as I make them again and again, and add new and improved pictures when I can.

I never set out to start a food blog...I just wanted a safe place where I could vent and tell my side of the story...and if family and friends wanted to pop in every once in a while to see what was up in my world, they could.

Then I found that cooking was a great creative outlet for me, and that it was easier for me to have a post about cooking, intermingled with my commentary than it was to just drone on and on about my personal problems.

Last month I had over 900 hits here on Sunshine and Jellybeans.

It was my highest month ever. Normally I average around 500 hits a month.

I realize that compared to most of the cooking blogs I read, this is minuscule. I would be willing to bet that most of them average several thousand hits a month.

But it's a lot for me, and it kinda makes me proud (and a little freaked out).

I also realize that this isn't a very traditional cooking blog. Most cooking blogs are strictly cooking, with a picture here and there or a once-in-a-while mention of the blogger's private life instead of regular (and very personal) posts. I'm sure that this is annoying to some people ("Quit f-ing TALKING and give me a RECIPE!"), but it's therapeutic for me and I hope that some people like the more personal aspect of it.

Anyway...

Now I'll quit f-ing talking and give you a recipe.

You can click here to view the original recipe, as well as a recipe for Spanish Rice.

I made these fajitas on the stovetop, but I ALWAYS recommend cooking the meat and veggies on the grill. It really makes a huge difference. The recipe has instructions for both.

I always put way too much stuff on my tortilla, and then I can never get it closed. I usually just end up spreading my fixin's out over the open face tortilla and eating it with a fork.

Chicken Fajitas (serves 6)

This recipe is for chicken fajitas, but you can easily substitute beef, pork, or shrimp. Also - feel free to use other veggies such as cherry tomatoes or zucchini.

  • 2 lbs of chicken breasts
  • 2 bell peppers, cut into strips
  • 1 small onion, cut into strips
  • 1 lime, cut in half
  • 1 bunch of cilantro, chopped
  • 2 tablespoons of homemade or store bought fajita or taco seasoning (see my recipe here)
  • 8 - 12 flour tortillas (you can sub corn tortillas)
  • 2 tablespoons jarred jalapeno, minced
  • 2 tablespoons juice from jarred jalapenos
  • your choice of fixins: lettuce, tomato, sour cream, salsa, guacamole, taco sauce, black olives
Cut your chicken breasts into strips, and toss it with the juice from 1/2 of your lime, a generous handful of cilantro, 1 tablespoon of your fajita seasonings and 1 tablespoon of juice from your jar of jalapenos. In a separate bowl/bag, toss your cut up peppers and onions with the juice from the other 1/2 of your lime, a small handful of cilantro, the remaining tablespoon of fajita seasoning and the remaining tablespoon of jalapeno juice. Marinade both for 30 minutes to 2 hours.


To grill:
Preheat your grill to 375 degrees while the meat and veggies are marinading. Put meat and veggies on skewers (separately), or in separate grill baskets (we usually skewer the meat, and then put the veggies in a grill basket coated with oil).

Cook chicken and vegetables, stirring every couple of minutes until chicken is cooked through, and veggies are soft and starting to brown, about 5 - 10 minutes.

Wrap tortillas in aluminum foil and warm on grill for a few minutes. 

To cook on stovetop:
Add marinaded chicken and vegetables to a large skillet (including all the juices). Cook over medium heat until chicken is cooked through and veggies are tender.

Preheat oven to 350 degrees. Wrap tortillas in aluminum foil and warm in oven for a few minutes.

Top warm tortillas and filling with your choice of fixings.

Enjoy!

Printable Recipe

January 3, 2011

Happy First-Monday-of-the-Year!

I hope that everyone had a safe and fun weekend.

My weekend was lovely and I have a million posts to write!

I don't have any pictures uploaded yet, but I just wanted to check in and let you know that you have the following posts to look forward to:

1. Chicken Fajita (re-post and pics)

2. Tara's party pics (including a buffalo chicken dip re-post and some really crappy pics)

3. New Year's Eve party pics

4. Ice bar pics

I'll work on that and get back to you!

In the meantime, I just wanted to give you a Kempton update and let everyone know that he is doing really good.

His left thigh is still about 2 centimeters smaller than his right thigh so we are working to get a bit more muscle built up.

We are currently in the 4 - 6 week "fragile" zone due to the sutures dissolving, leaving his knee unsupported (until the muscles get re-built).

After this cautionary period (so in about 9 days), I can start rapidly adding more and more exercise to his routine, as well as some "off leash" time.

Thanks to everyone for all of the support and sweet comments during this whole thing - I appreciate you all very much!

Stay posted over the next couple of days for a whole truck load of pictures of me eating, drinking and getting fatter!

I hope that your New Year's Resolutions are going better than mine. 

Have a fantastic day!

~Lindsey xo